hair extensions project
purpose: to make hair appear fuller and longer for events
materials:
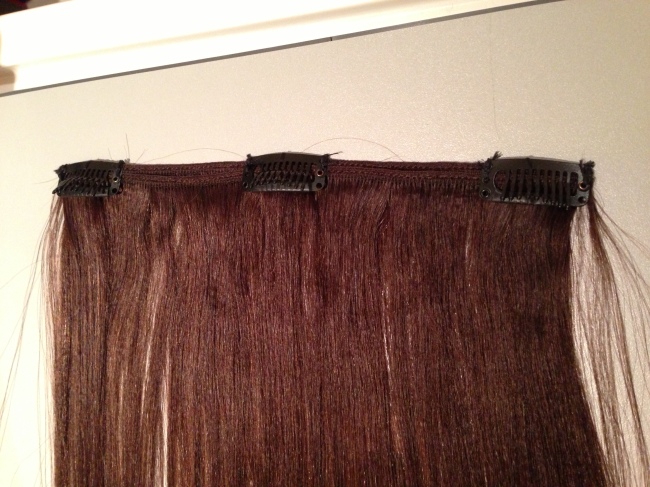
> hair wefts
> wig clips
> needle
> matching colour thread
> seamstress measuring tape or string or yarn
materials purchases trip:
> Location: CJ Beauty (in B.town)
>> A friend of mine got a hold of this place from another friend. Ask around for best location and price. There will always be someone you know who wears them. The first time purchase should always be done in store. My friend heavily suggested that I understand the texture difference between the different qualities of human hair.
> Hair type: Choose the quality of the hair extensions based on your usage, but always stick with human hair. I purchased 14″ straight hair with layers because that matches my cut closely. I did not purchase virgin hair only because I was not planning to wear these on a regular basis. One set of these will most likely last me for a year or so until my own hairs grows out to the desire length.
> Colour match: My hair was last dyed back in May, so it took a bit more time to colour match to the undertones of my hair (which have been faded due to weather elements). My dark chocolate brown shade matched with colour #4. There are variations between brands for the same colour code (some may have light highlights already built in, some are solid colours). Do take a look at the various brands to see which one works best. This is when a good friend comes in handy. I tried a total of 3-4 brands before finding a good match.
> Quantity: I only purchased half a package of hair wefts. The sale associate was super nice to do the math for me and it was suppose to yield at least three tracks.
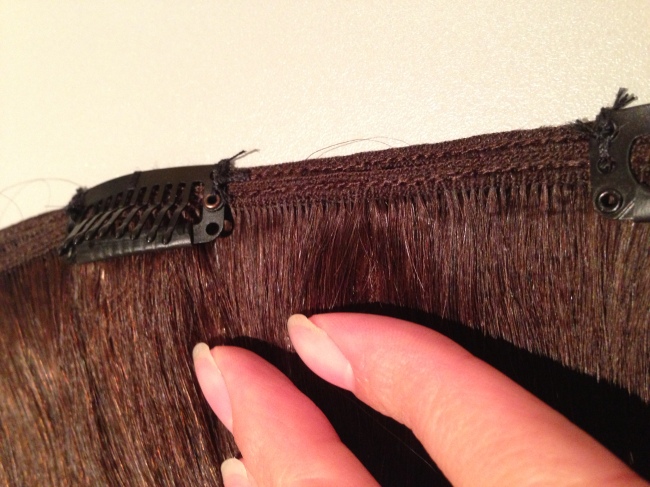
> Wig clips: These come in a three sizes. I was recommended to use medium size as it will conceal best with my fine hair. Purchase a minimum of 12 clips.
instructions:
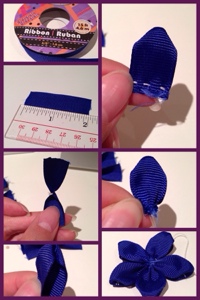
1. Using the measuring tape, measure the back of head. I choose to measure this at the location right between crown and temple. This is going to be the location of your longest piece. Do request of help from a good friend or family member if required.
2. Plan the length of each piece:
A tip from the sales associate at the store: the space between each clip should be approximately three finger widths
*** 1st track @ crown – 10″ in length with 4 clips (14″ from temple to temple; minus 2 inches from each side so it won’t show at the edge of my hair.)
*** 2nd track @ temple – 8″ in length with 3 clips
*** 3rd track @ nape – 6″ in length with 2 clips
Note: I end up doubling each weft as I have close to double the quantity of hair wefts remaining. I did not realize this in my initial planning, otherwise I would have sewn the wefts together first before attaching the clip.
Total time required: approximately 3 hours from measure to finish.
Total cost of materials: approximately $30 ($20 for wefts & $5 for clips … than of course HST)